

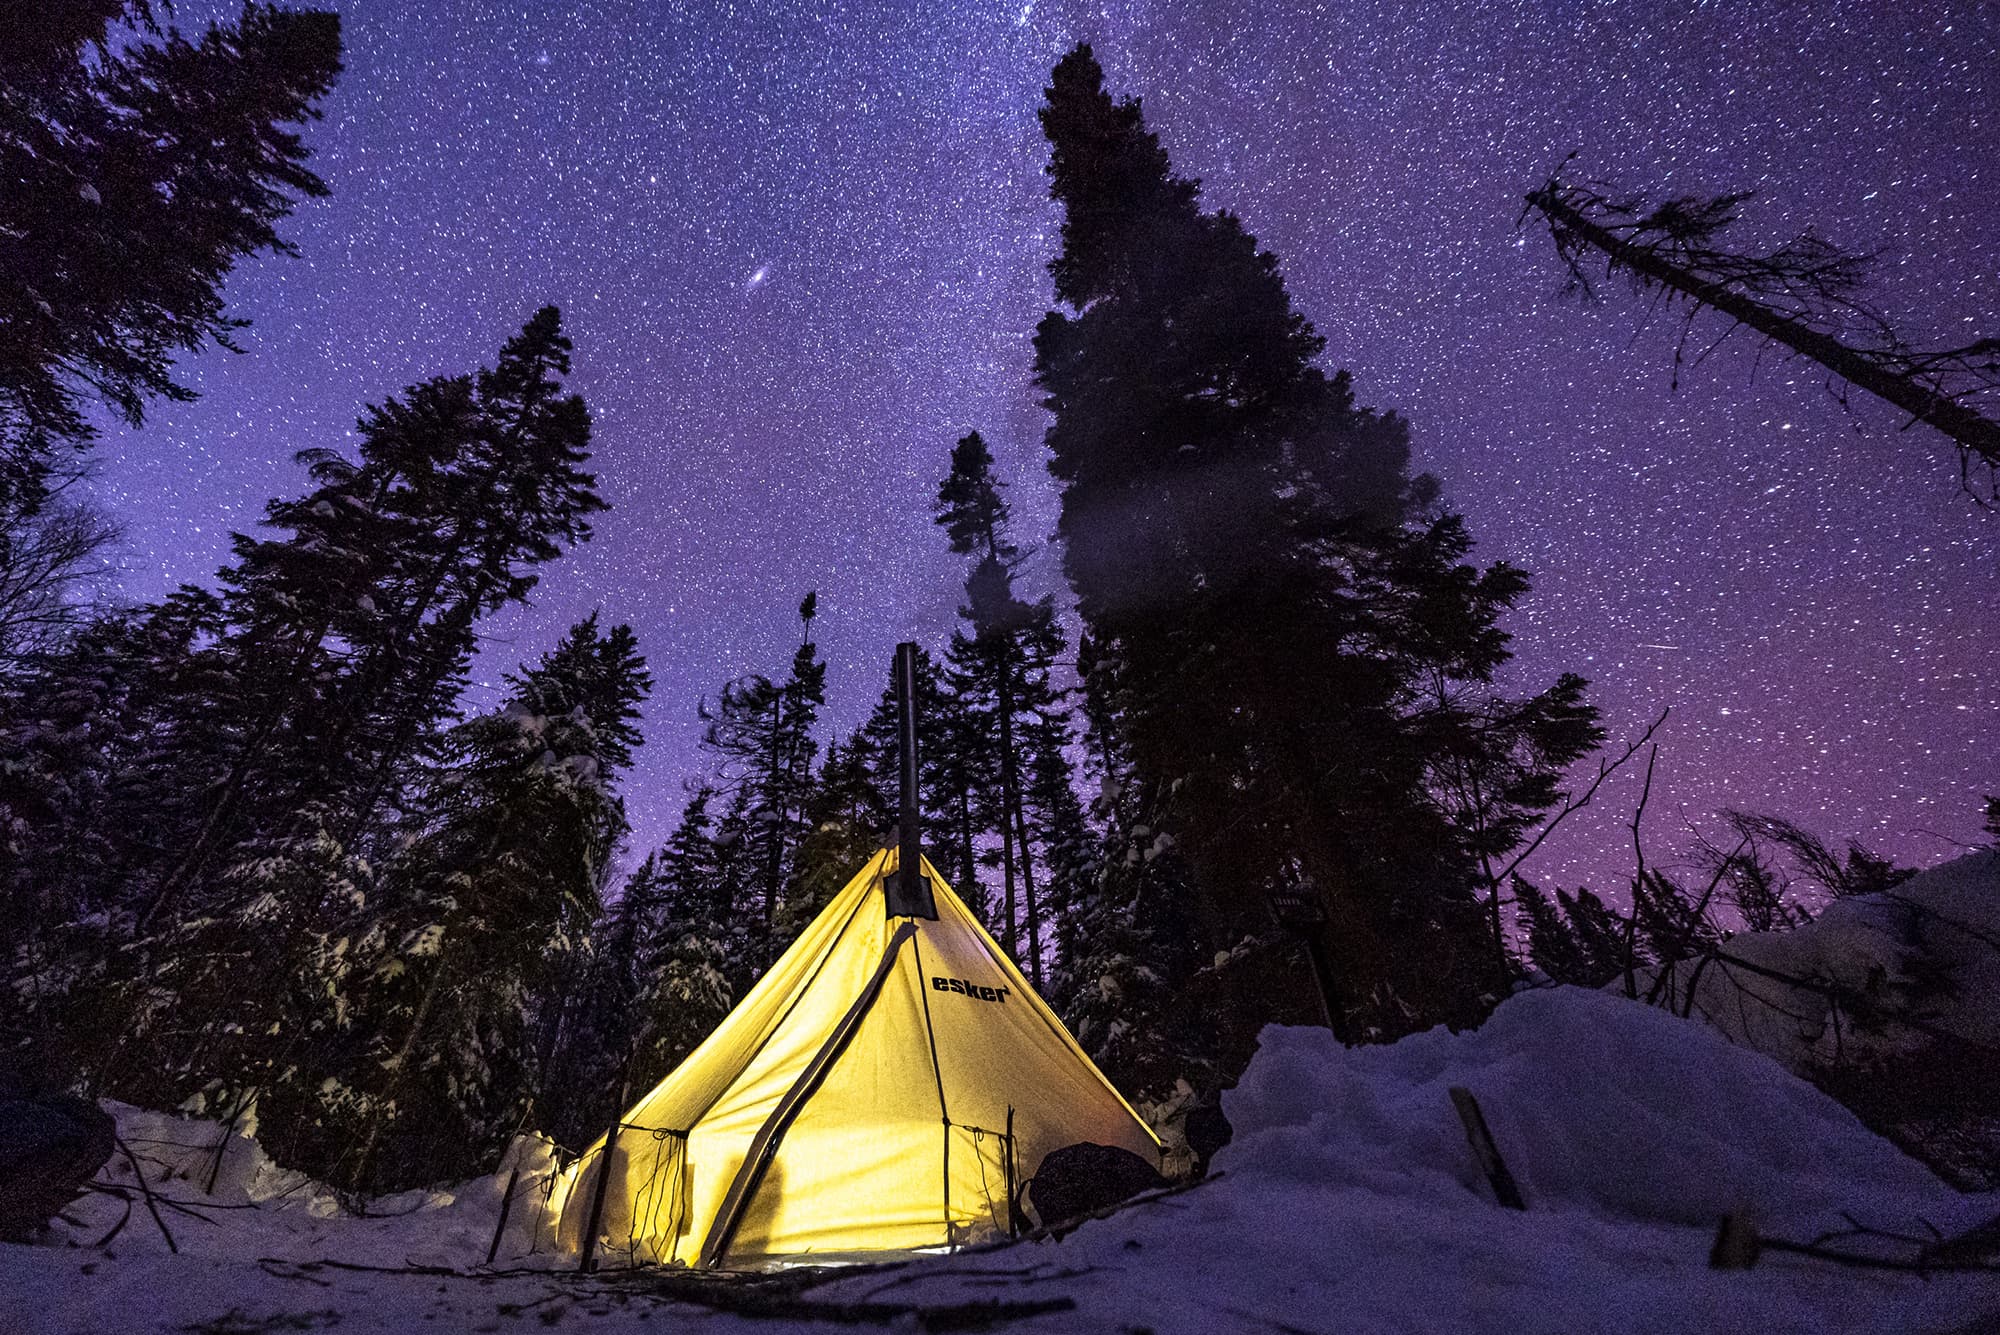
Planning The Ultimate Winter Hot Tenting Experience
As a retailer, you don’t just sell product, you sell an experience. You help your customers plan out their outdoor adventures from start to finish. We hope the below tips and suggestions help you and your staff give clients the advice needed for the ultimate Winter Hot Tenting experience.
PLANNING AHEAD:
To have the best winter camping experience you can, it is best to prepare ahead.
The hot tent and stove add additional weight to your sled, so plan out your trail and destination accordingly. Plan to embark on your adventure early in the day. It almost ALWAYS takes longer than you estimate to get into your location and get set up. Setting up in the dark is not fun, let alone safe.
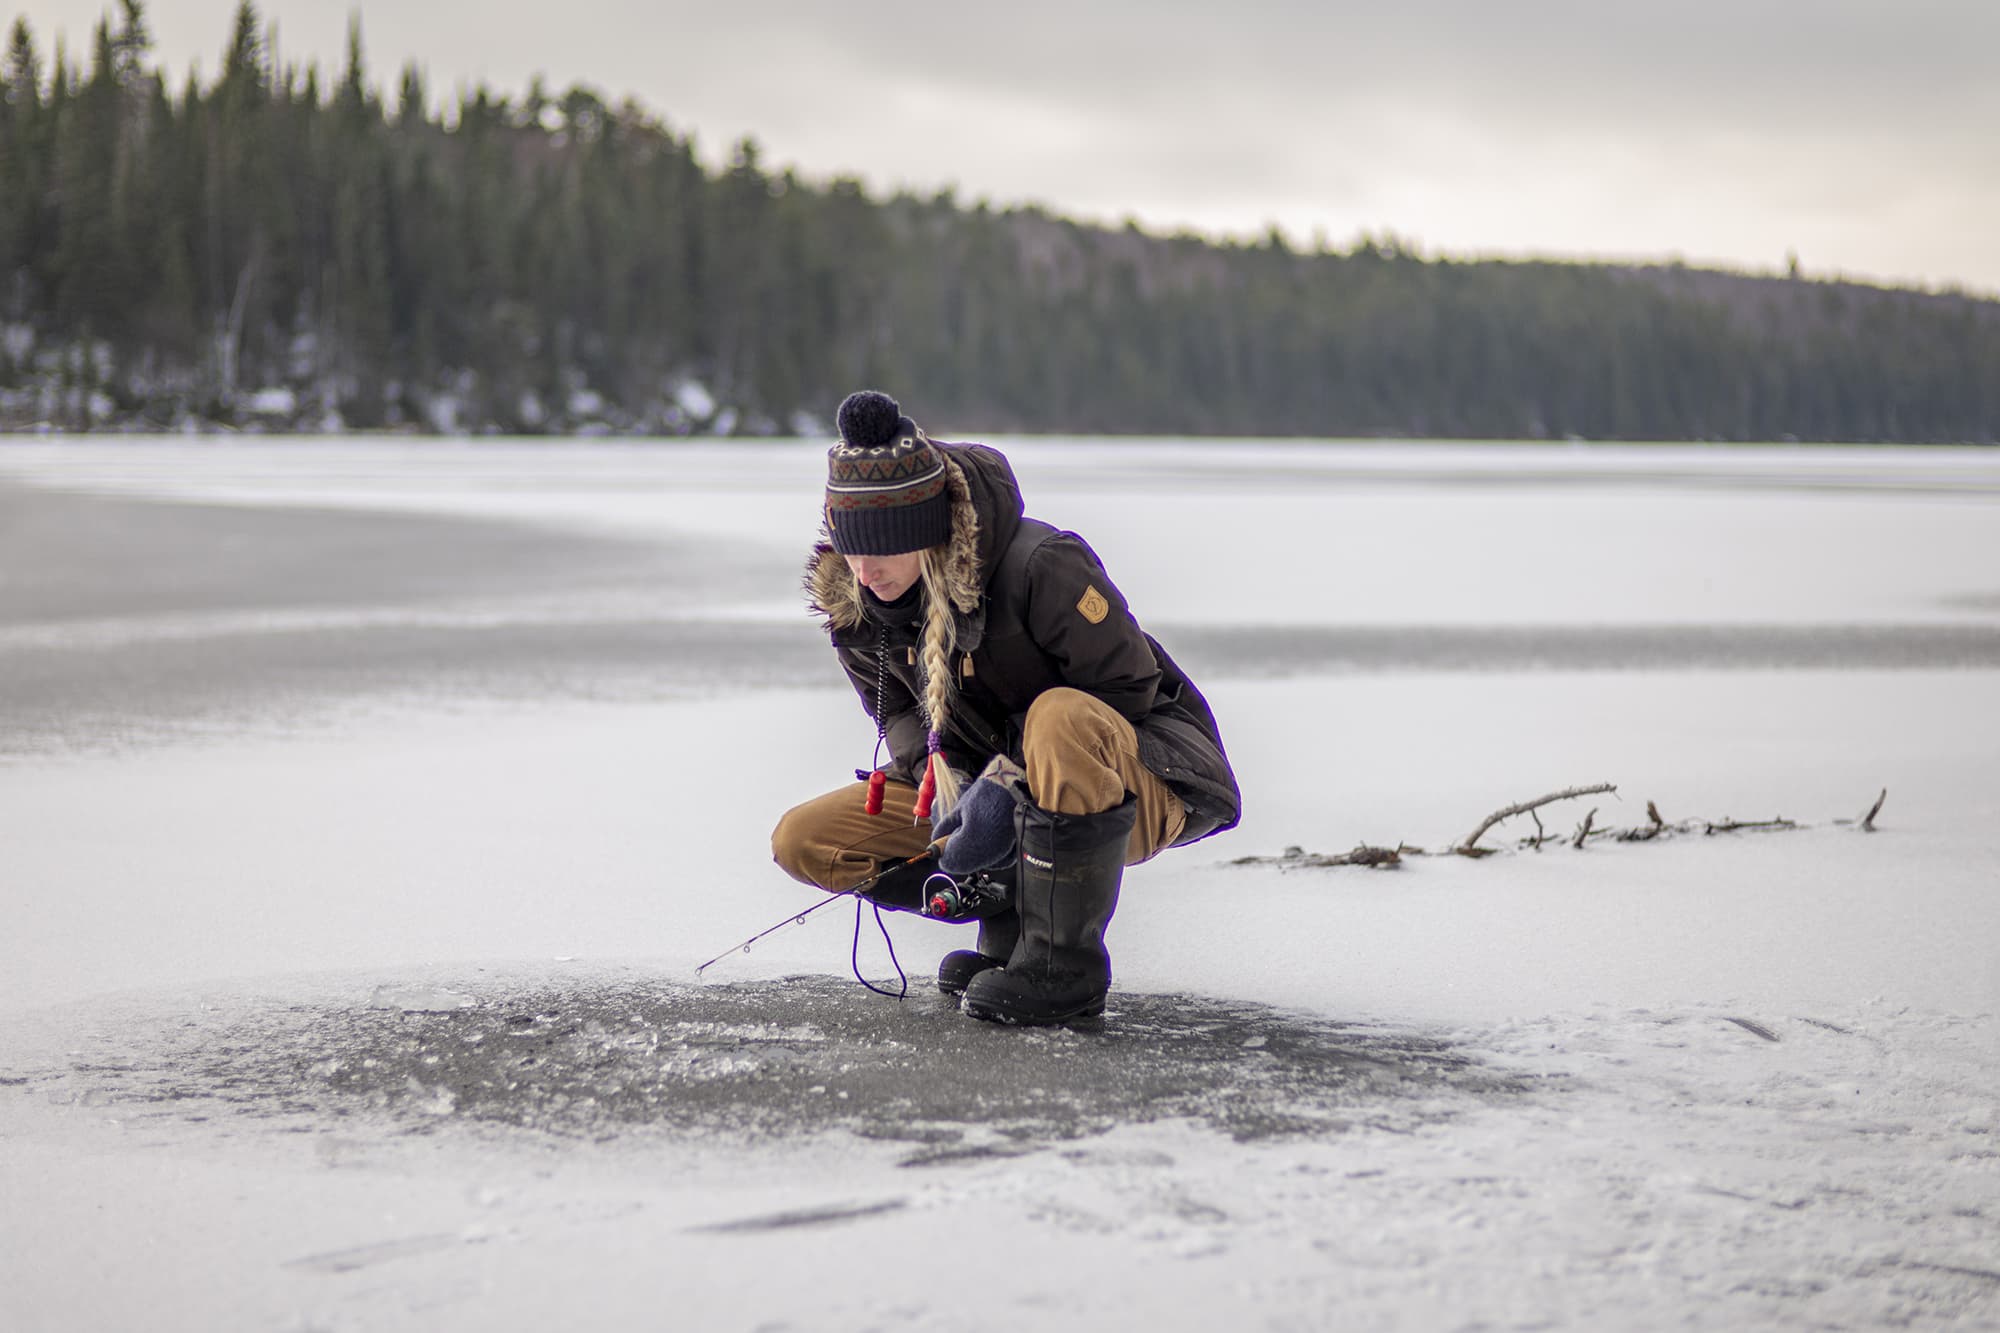
Create a meal plan and prepare ingredients ahead of time. ALWAYS have a back-up plan in case you are unable to fish or the fish aren’t biting.
Research local rules before you go. For example, many provincial parks don’t allow you to harvest pine boughs for flooring or if you are camping in the front-country you may have to purchase firewood at the park entrance.
Know your local fishing regulations. (Ice Fishing in Ontario)
Do at least one practice run and set up the tent in your backyard. Get familiar with all the pieces and the set-up process. Make sure each piece is accounted for and that you know how to use them. Setting up in -20 degree weather is not the time to learn how to set up a tent and stove.
FINDING LOCATION FOR HOT TENT:
Once you are at your destination, find a location that fits the tent footprint. If you are not spatially aware, bring a tape measure with you and map it out on the snow.
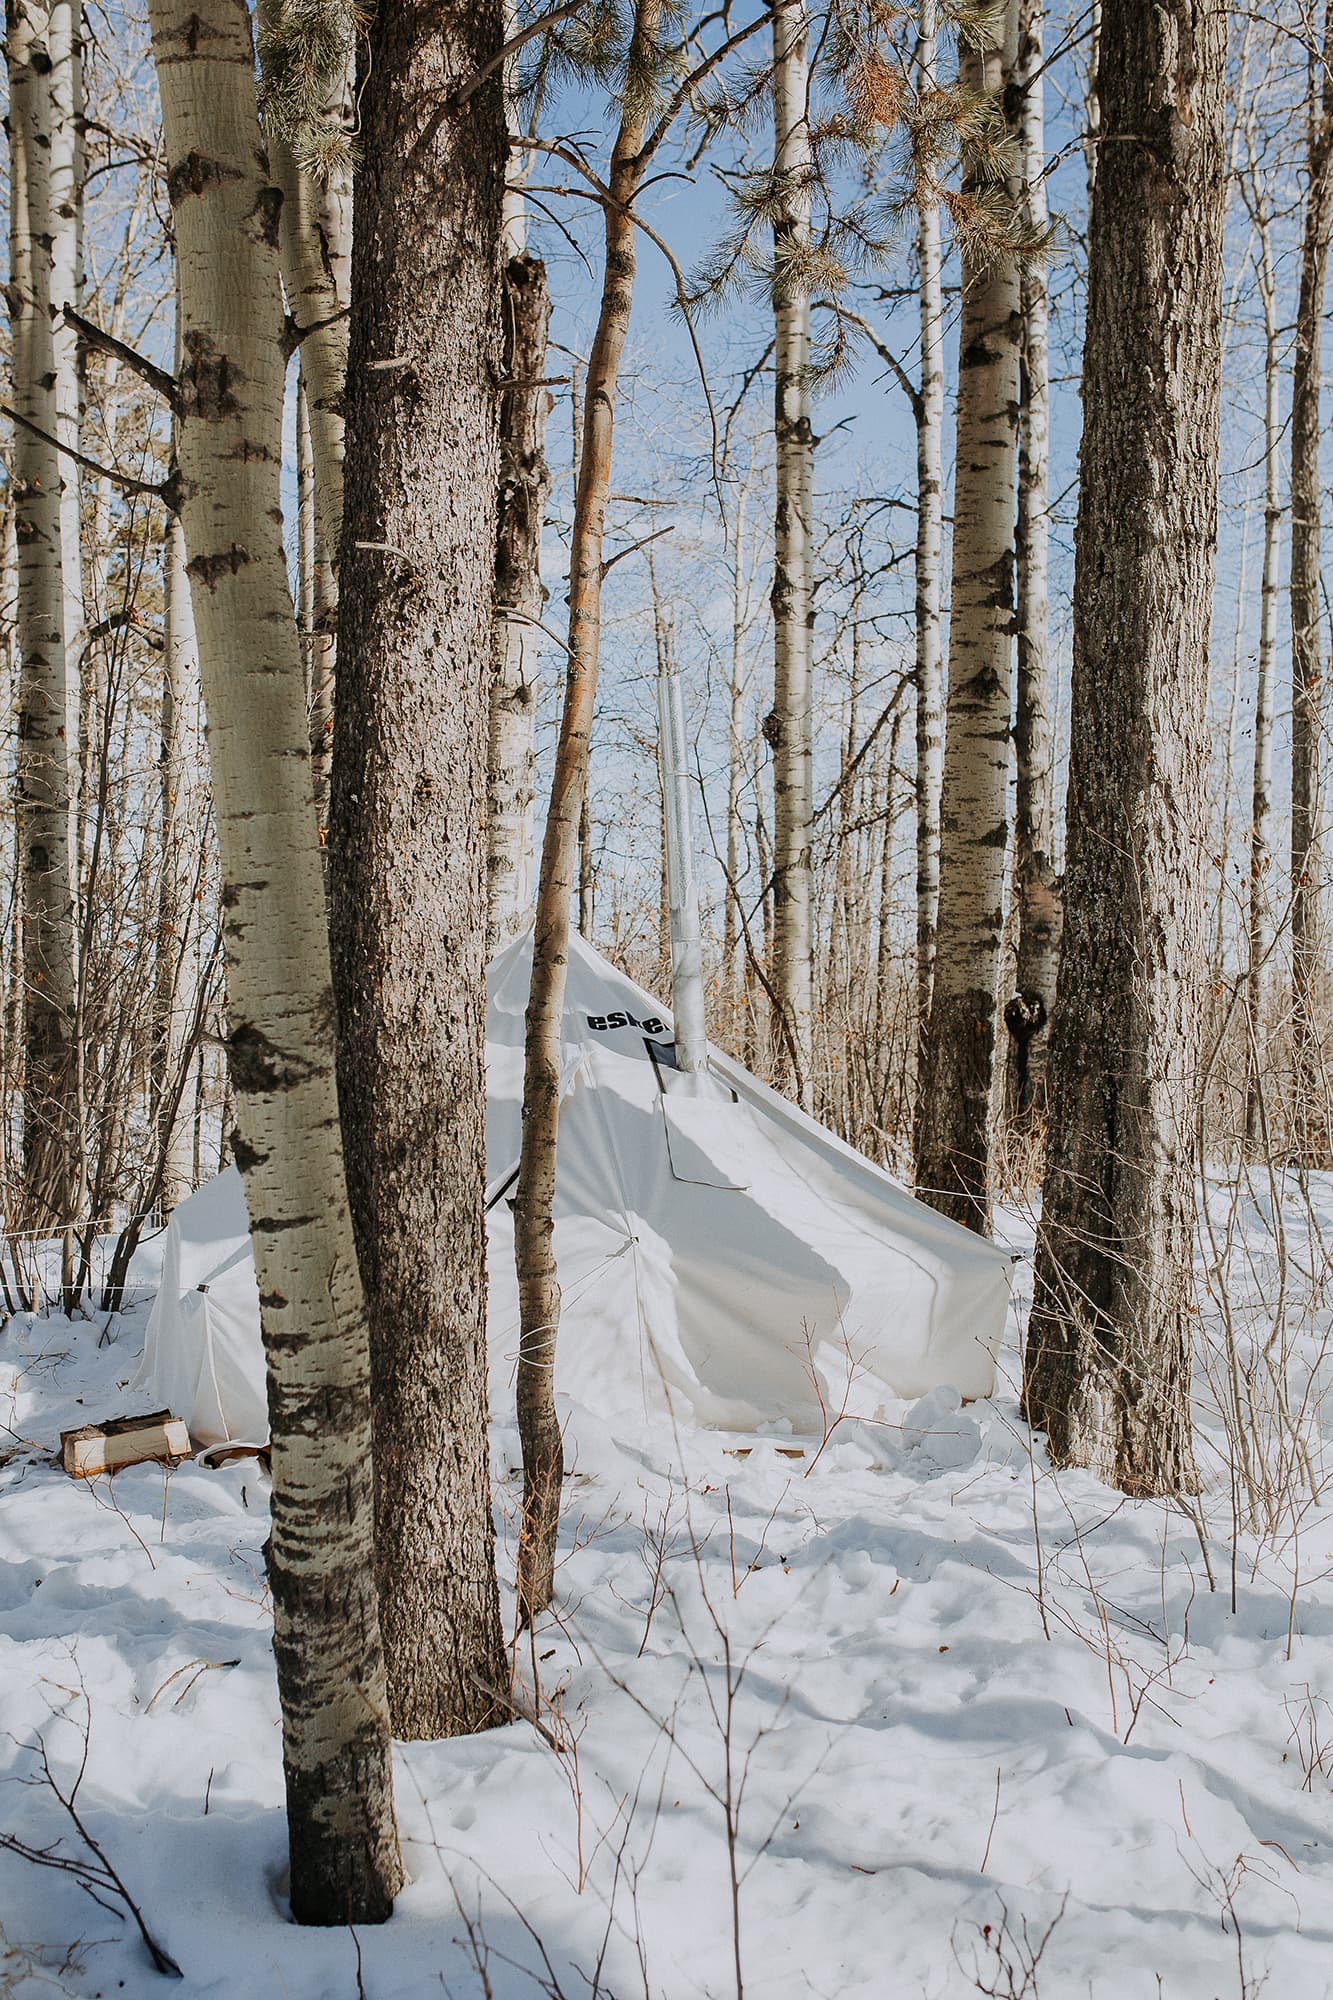
Ideally, look for a location that has a couple trees nearby to tie-off to so that you don’t have to run long guy lines.
Think ahead to where the stove and door will be. Think about direction of wind and tree cover.
TIPS FOR SETTING UP THE HOT TENT:
Once you have the location mapped out, tamp the snow down with snowshoes.
Lay the tent out first and then stake out the corners. Depending on how deep the snow is, you will probably want to have a heavy-duty stake, at least a foot in length.
Next step is getting your center pole set up, then you can attach your guy line to tension out the sides of the tent.

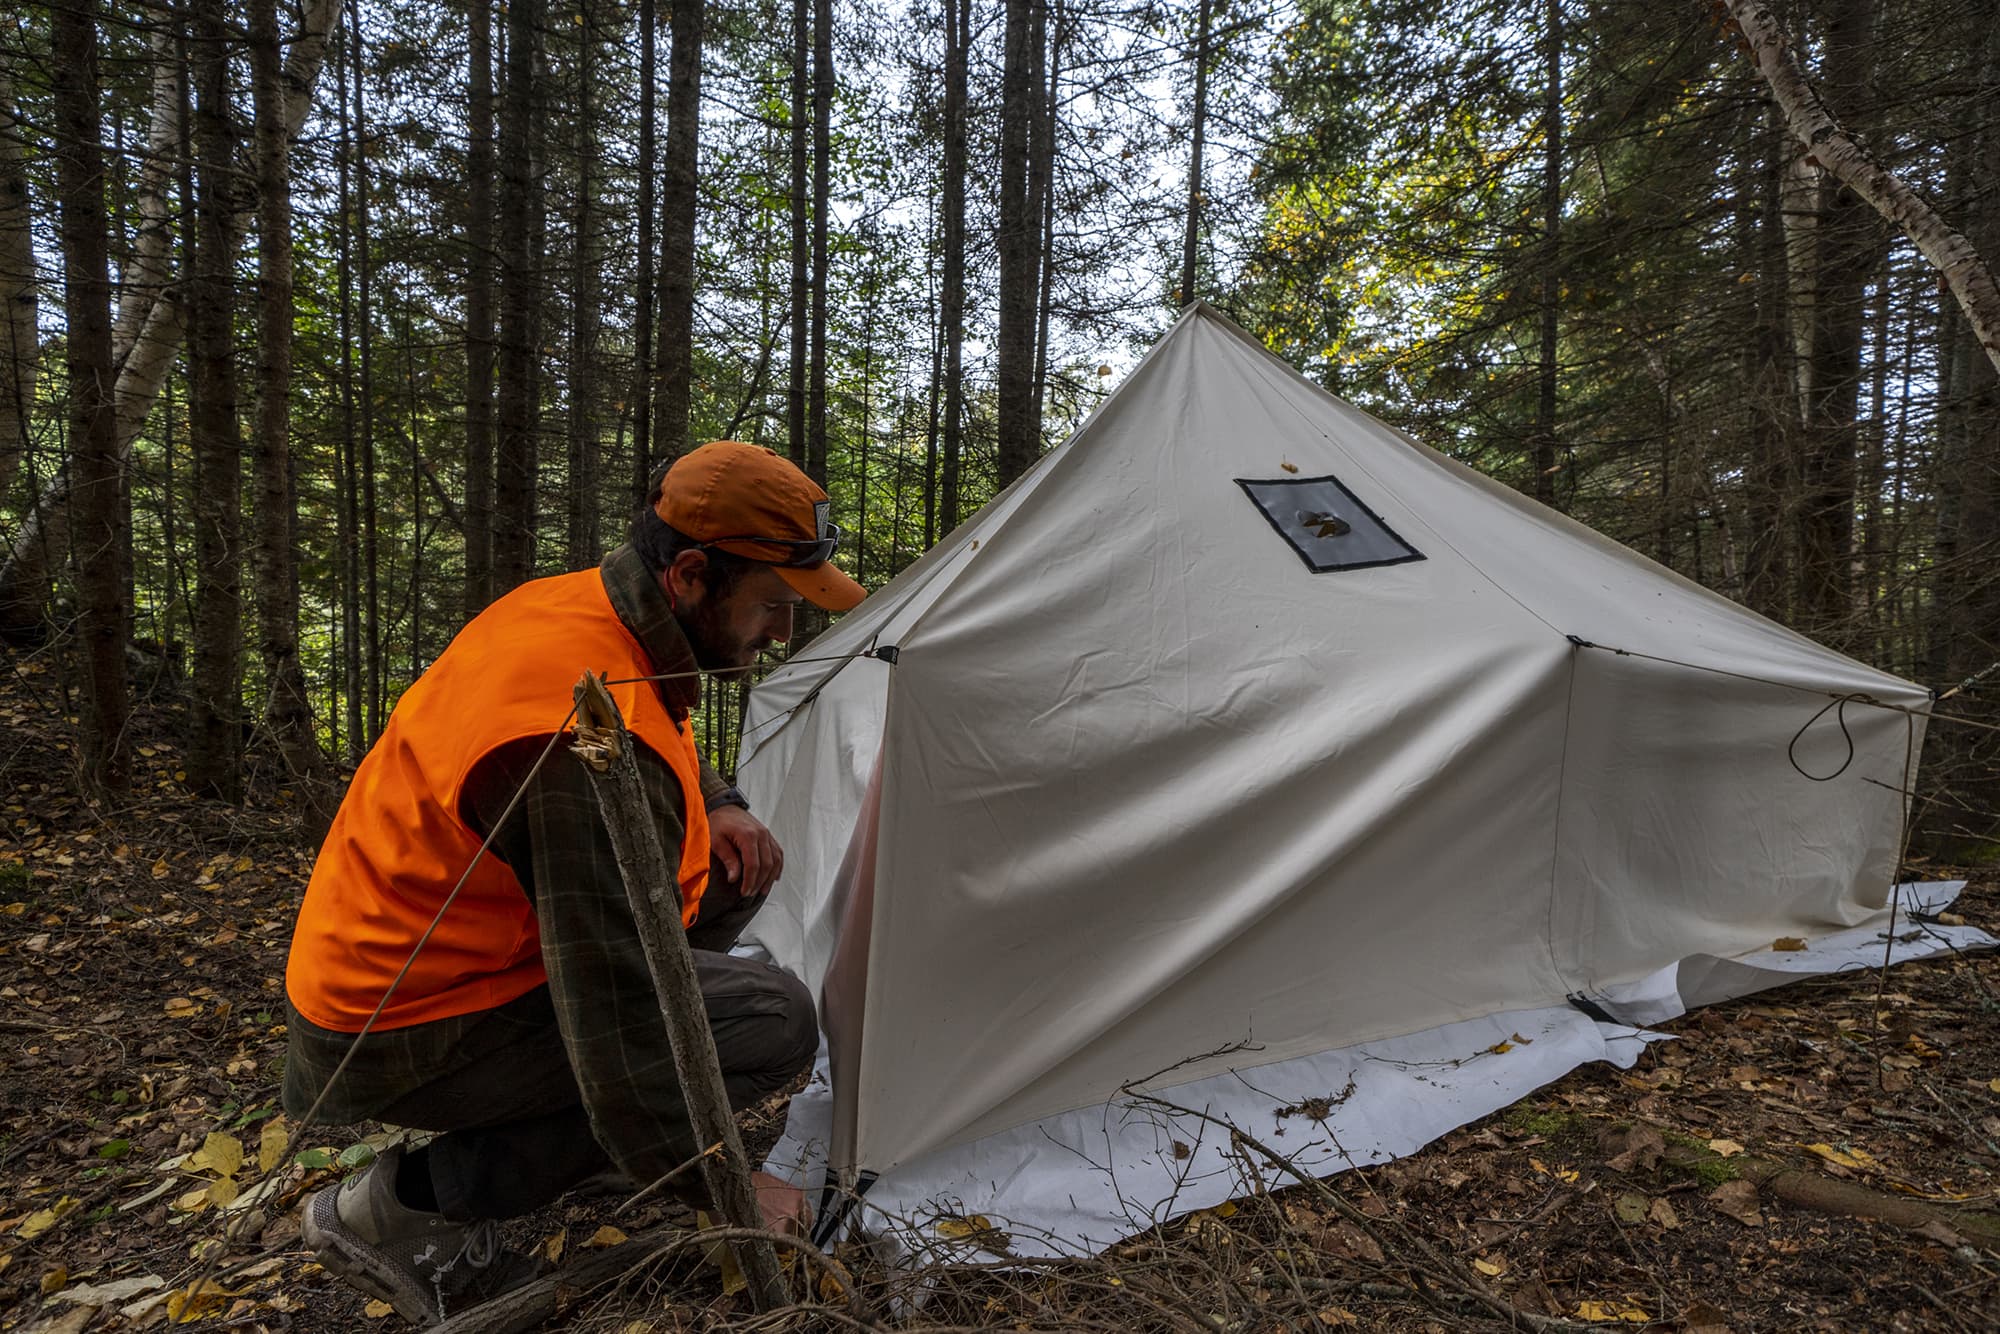
The guy lines need to be 45 degrees from the tent and a straight 90 degrees from the ground. This is necessary to keep the tent walls taut. You do not want these to fall slack or your walls will sag and droop.
TIPS FOR A HOT TENT STOVE:
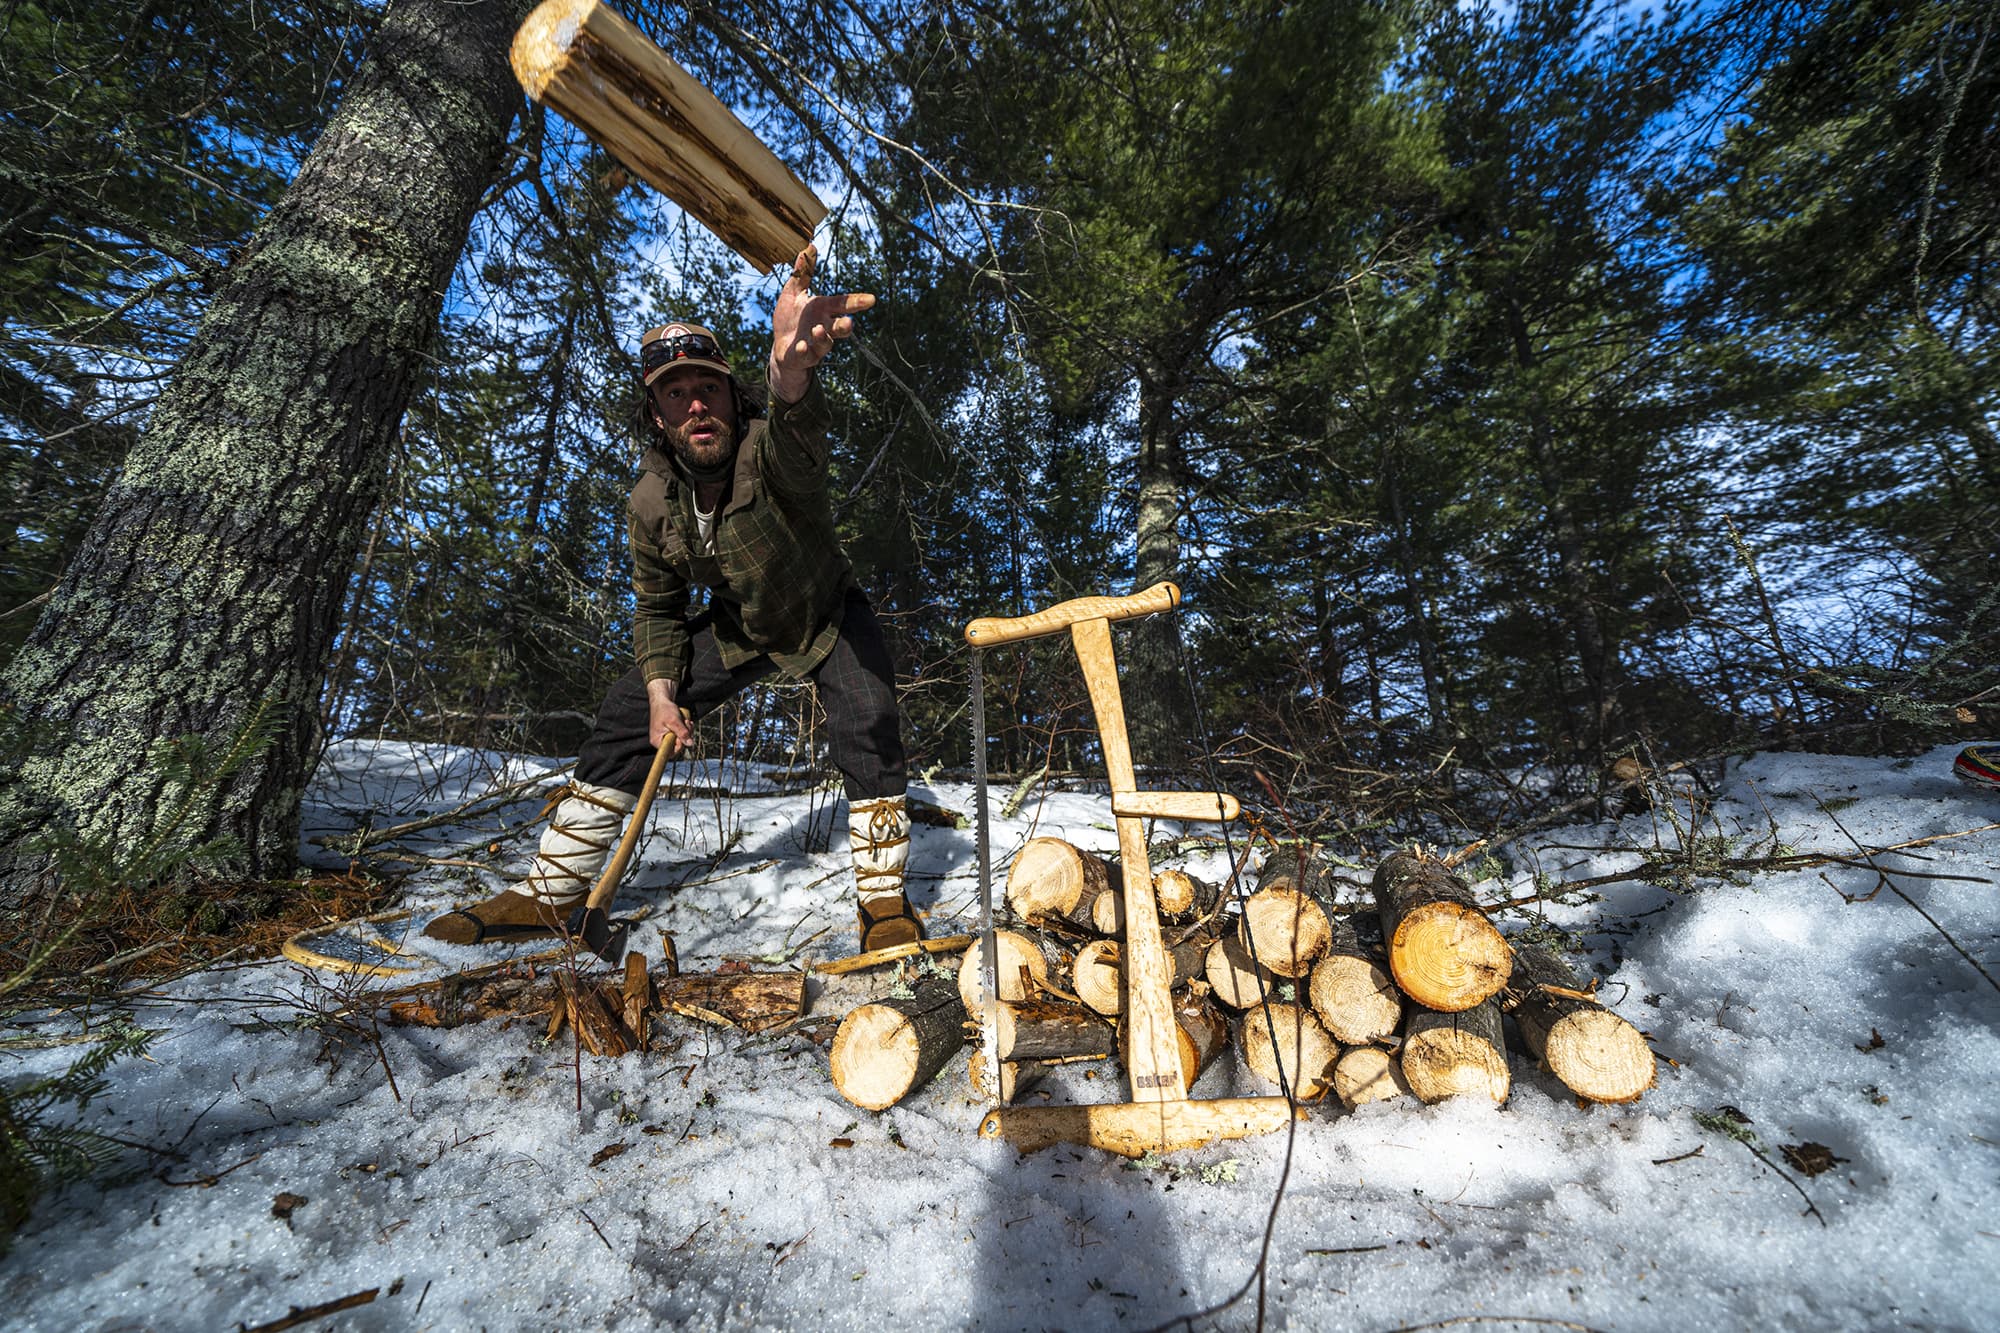
Winter Hot Tenting is not easy. It is a lot of work. Processing firewood is a huge effort but a necessity. But, once you have it set up and the fire going, it is super comfortable and an enjoyable escape into nature.
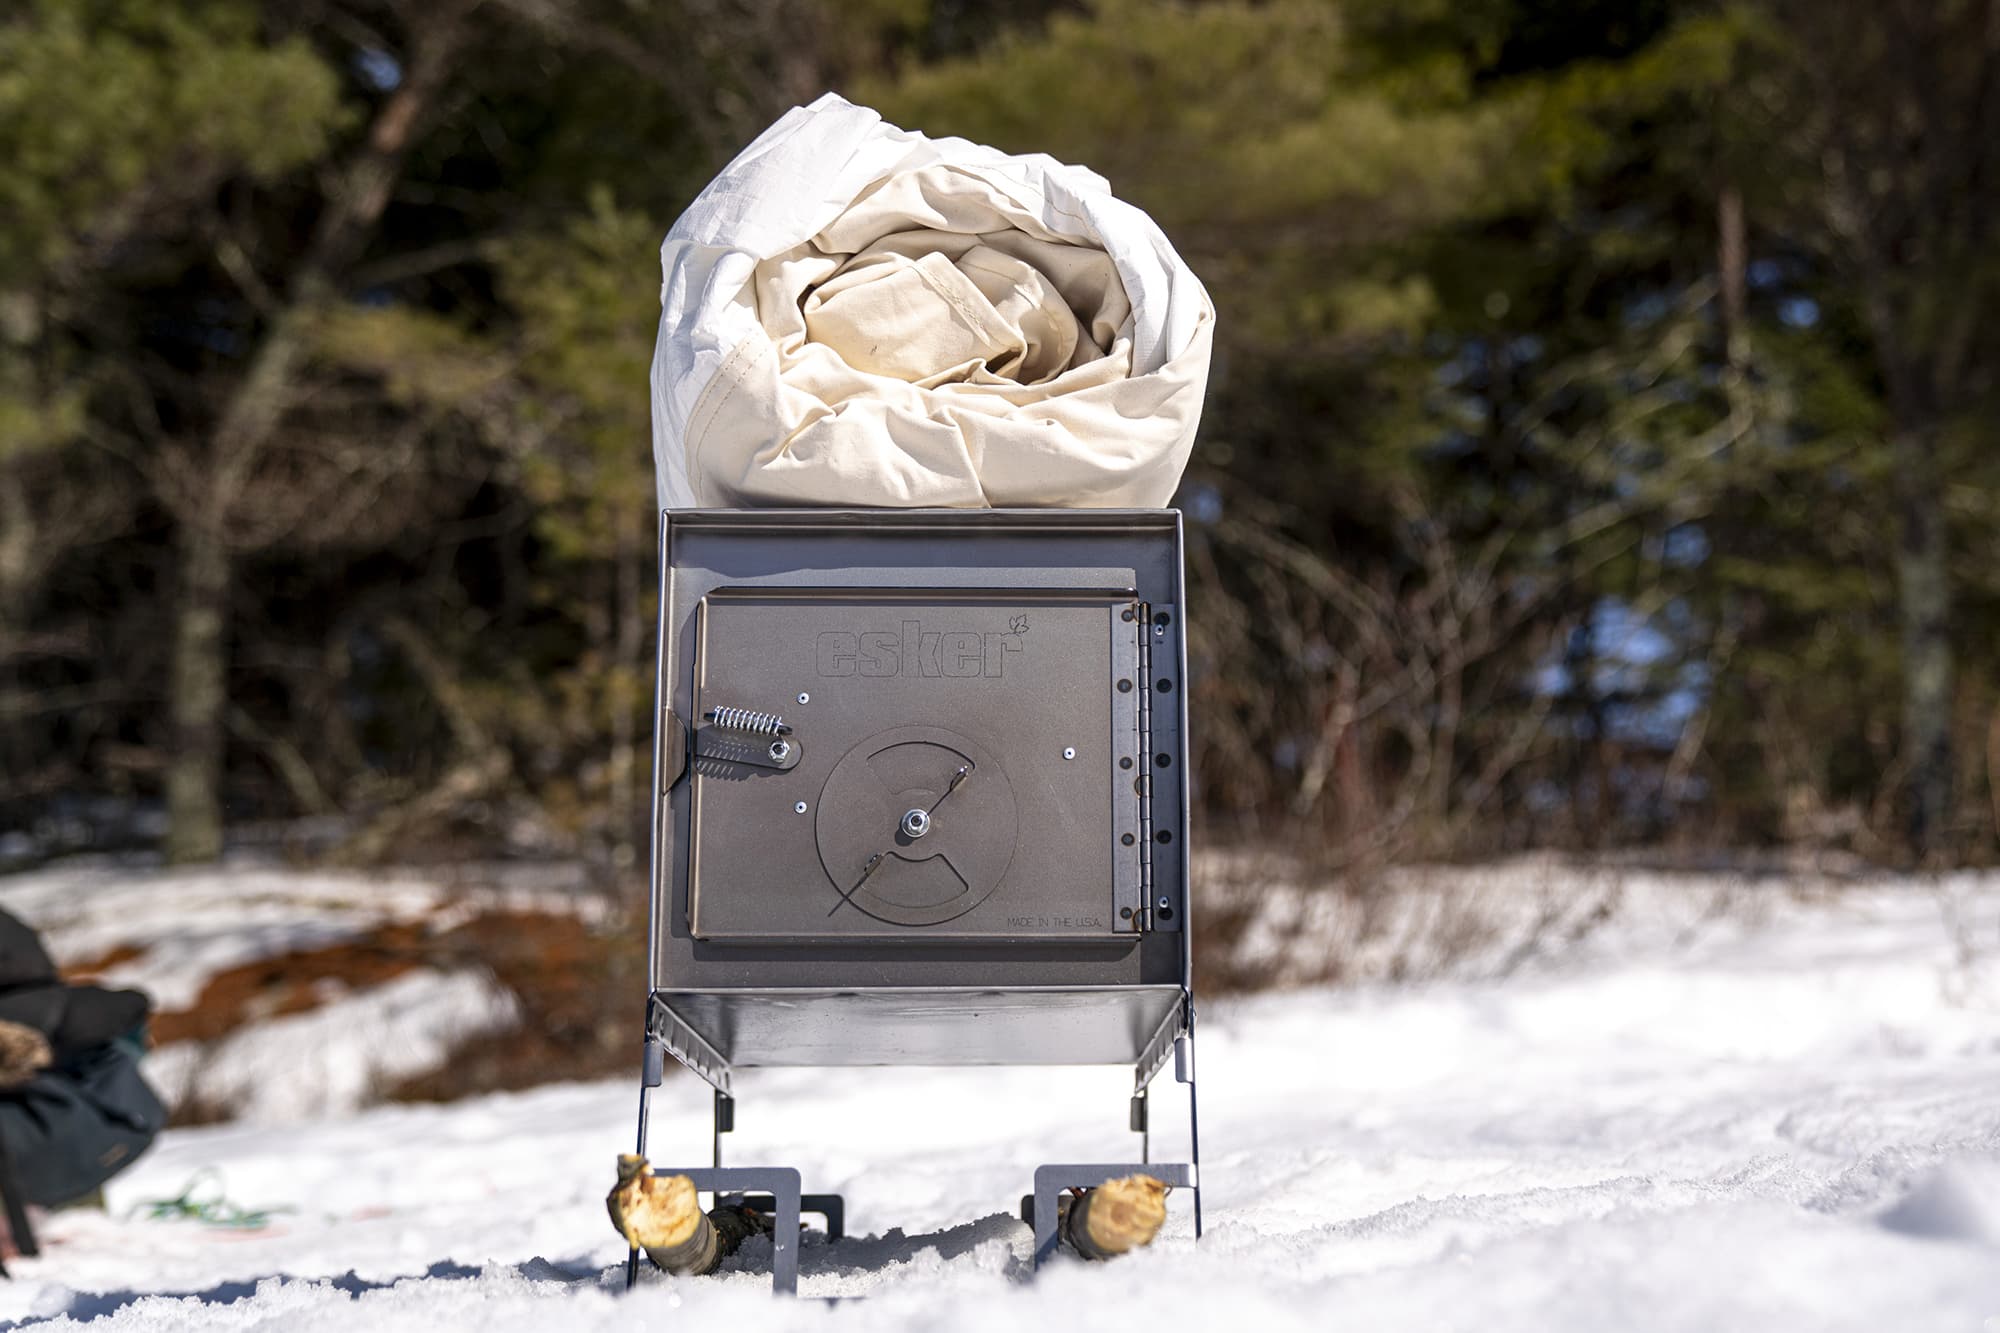
Stove Float Legs are a key feature to the Esker stoves. You put thick sticks or poles through the legs to keep the stove balanced and sturdy. This ensures that while the snow melts, the stove doesn’t shift and knock the piping loose from the tent.
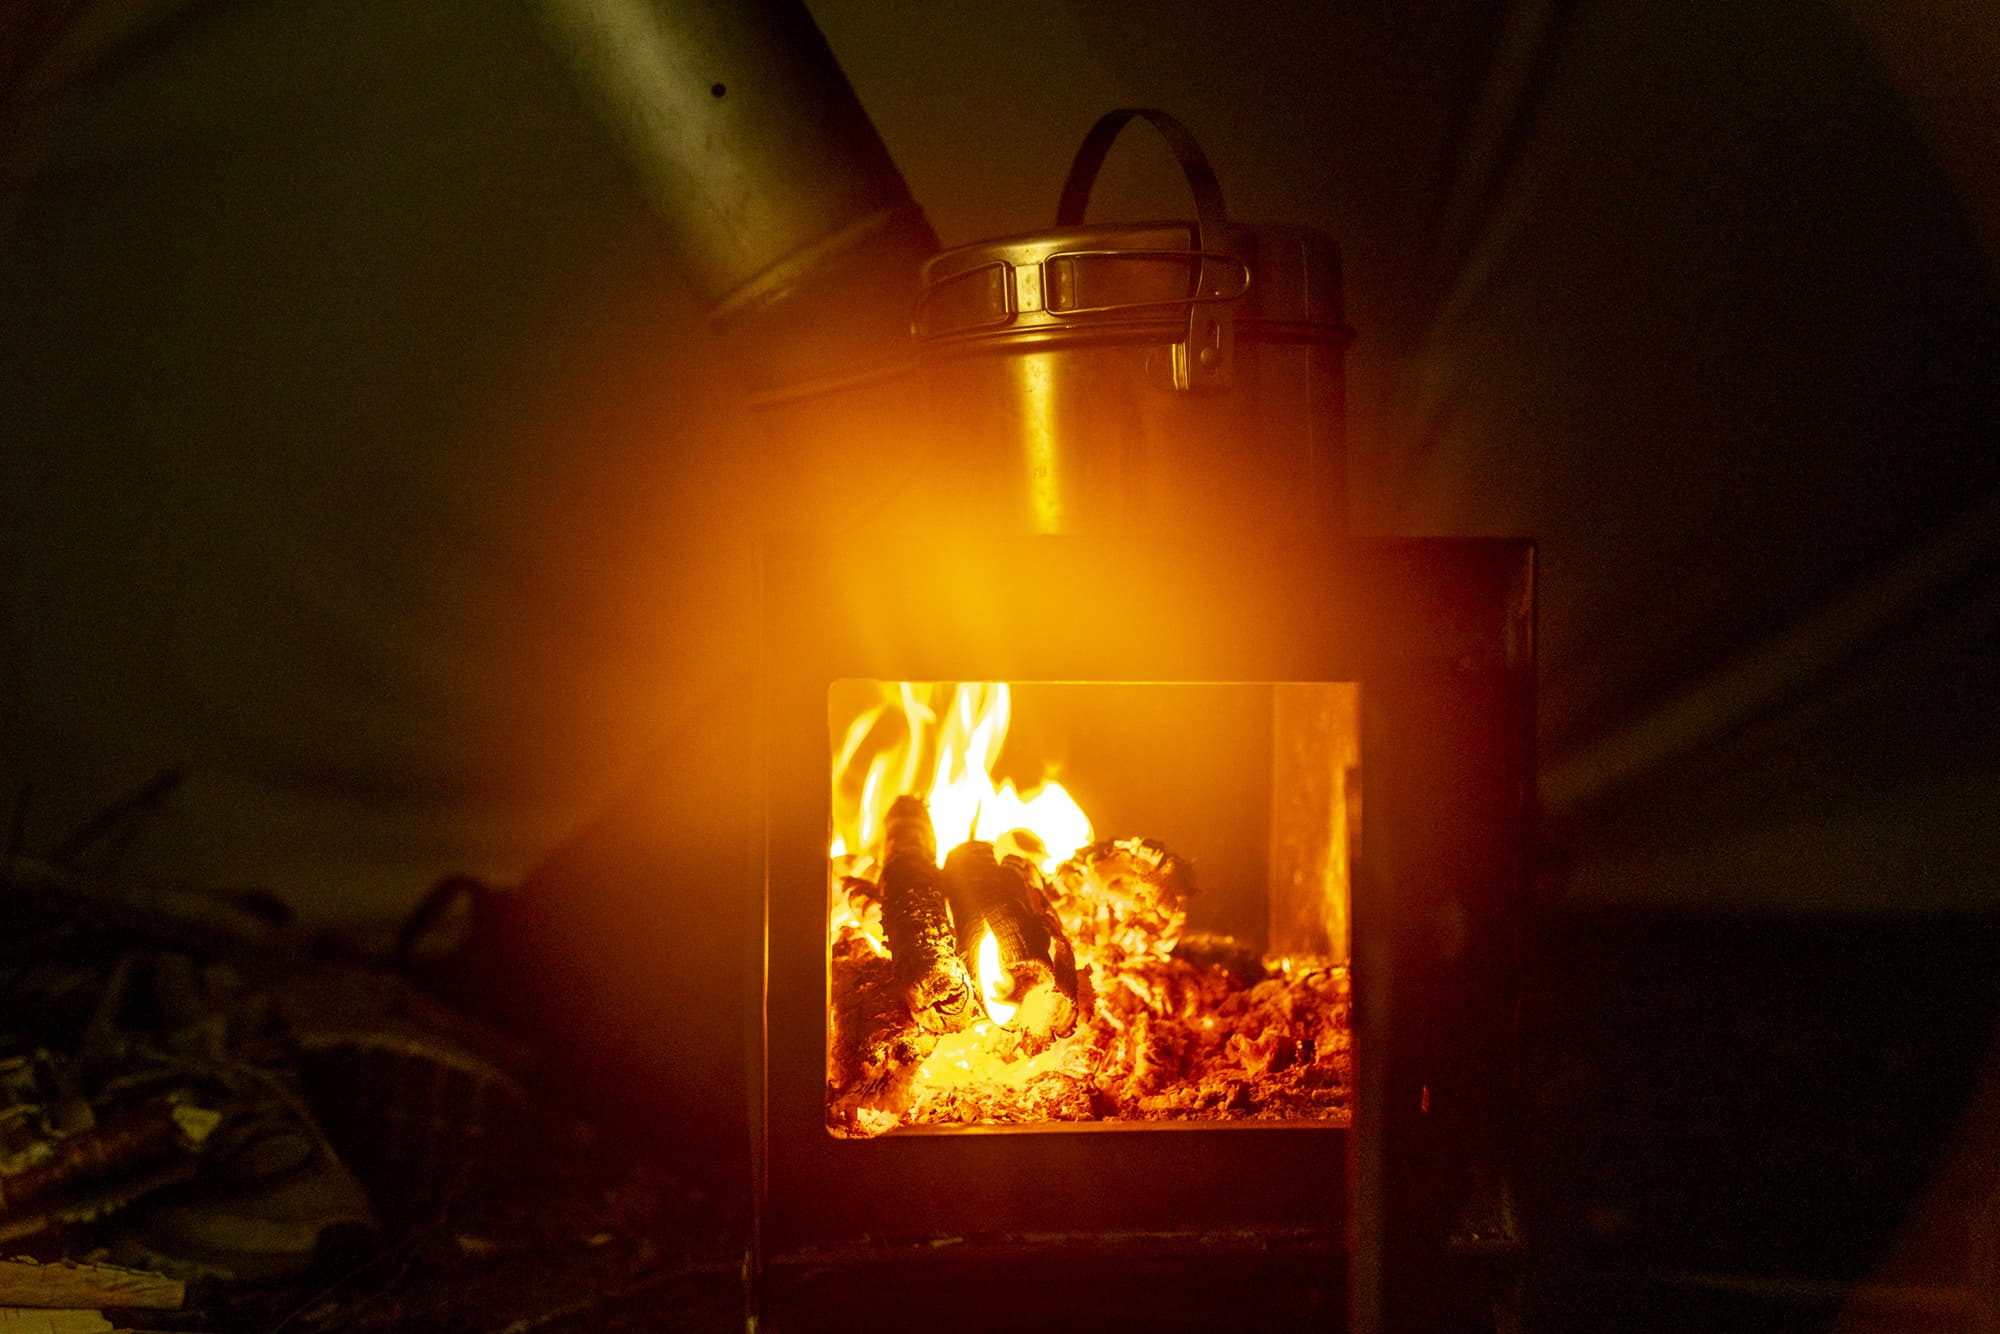
Pre-burn your stove and pipe outside before using the first time. This allows the stove to burn off oils that could emit fumes and an odour.
A woodstove does come with inherent risks but are easily managed with proper use. While low, there is a significant risk to carbon monoxide poisoning. First, keep the tent vents open along with a small opening at the bottom corner of the tent door to increase airflow. Second, we would suggest bringing a carbon monoxide detector or a candle lantern to alert you if the oxygen levels drop to a dangerous level. Problem solved.
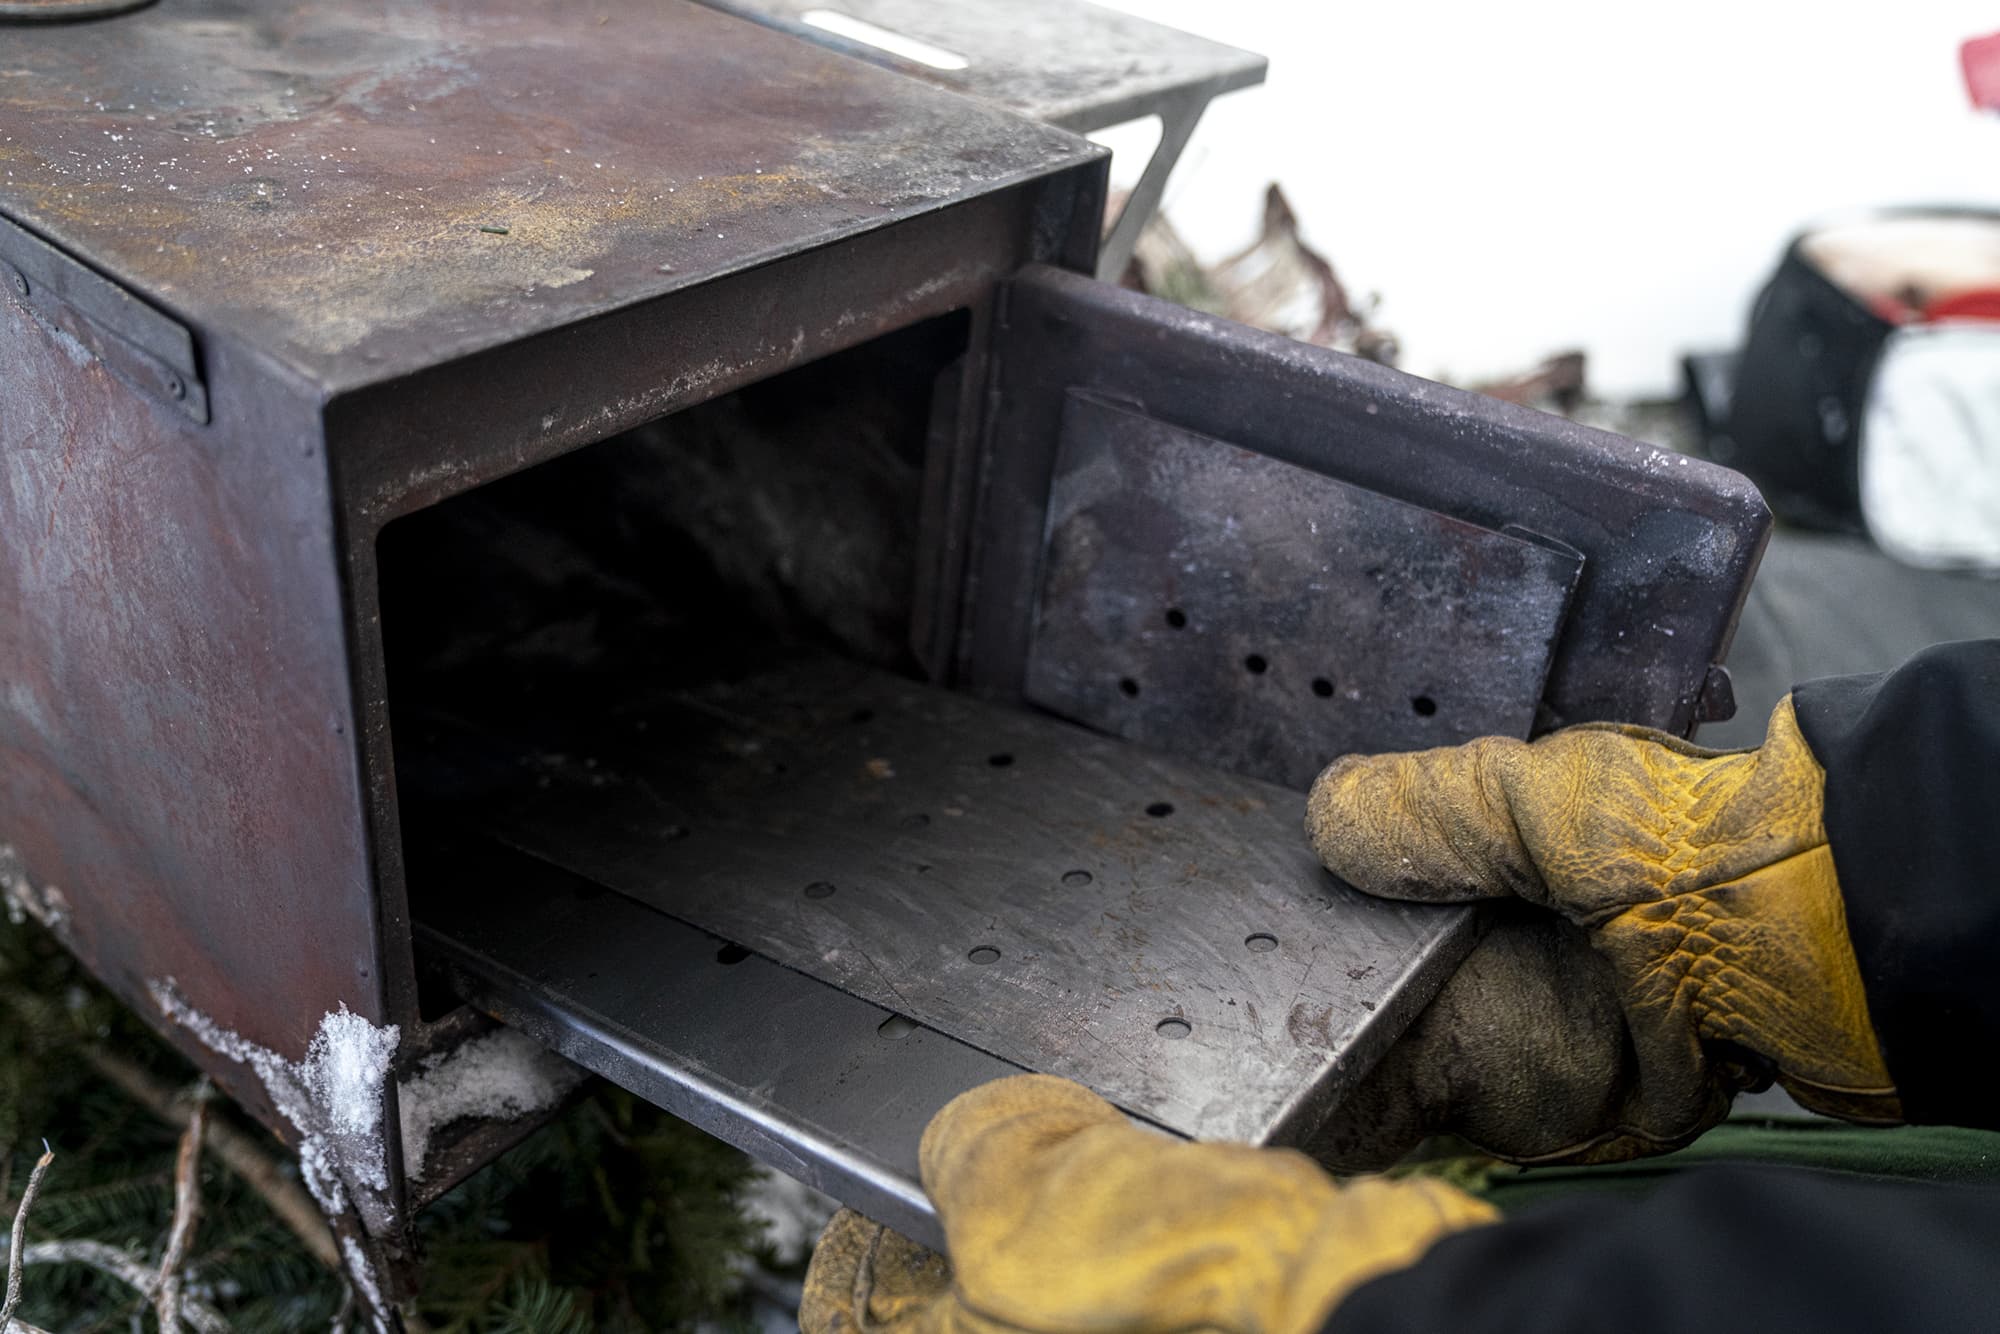
A false bottom is a great accessory for extending the life of the bottom of your stove and increasing the efficiency of the burn by creating an air gap between the wood and the stove bottom.
To keep a healthy fire, clean out the creosote build-up in the chimney flue which can decrease airflow and potentially cause a fire in the stove pipes.
PACKING TIPS:
Hot Tent and Stove - All the pipes fit inside the stove for easy transport.
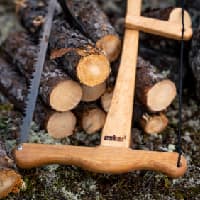
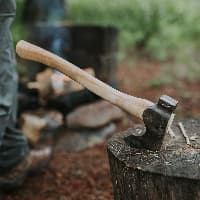
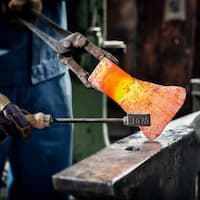
You will be processing a lot of wood, so make sure you have a good bucksaw (ESKER) and an axe (MUELLER).
Expect the unexpected. Always carry the essentials:
- First Aid Kit
- Fire Starter ie/ Kupilka Firesteel and dry tinder
- Emergency Whistle
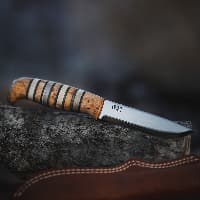
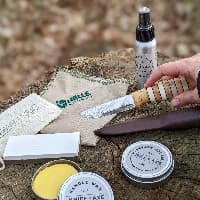
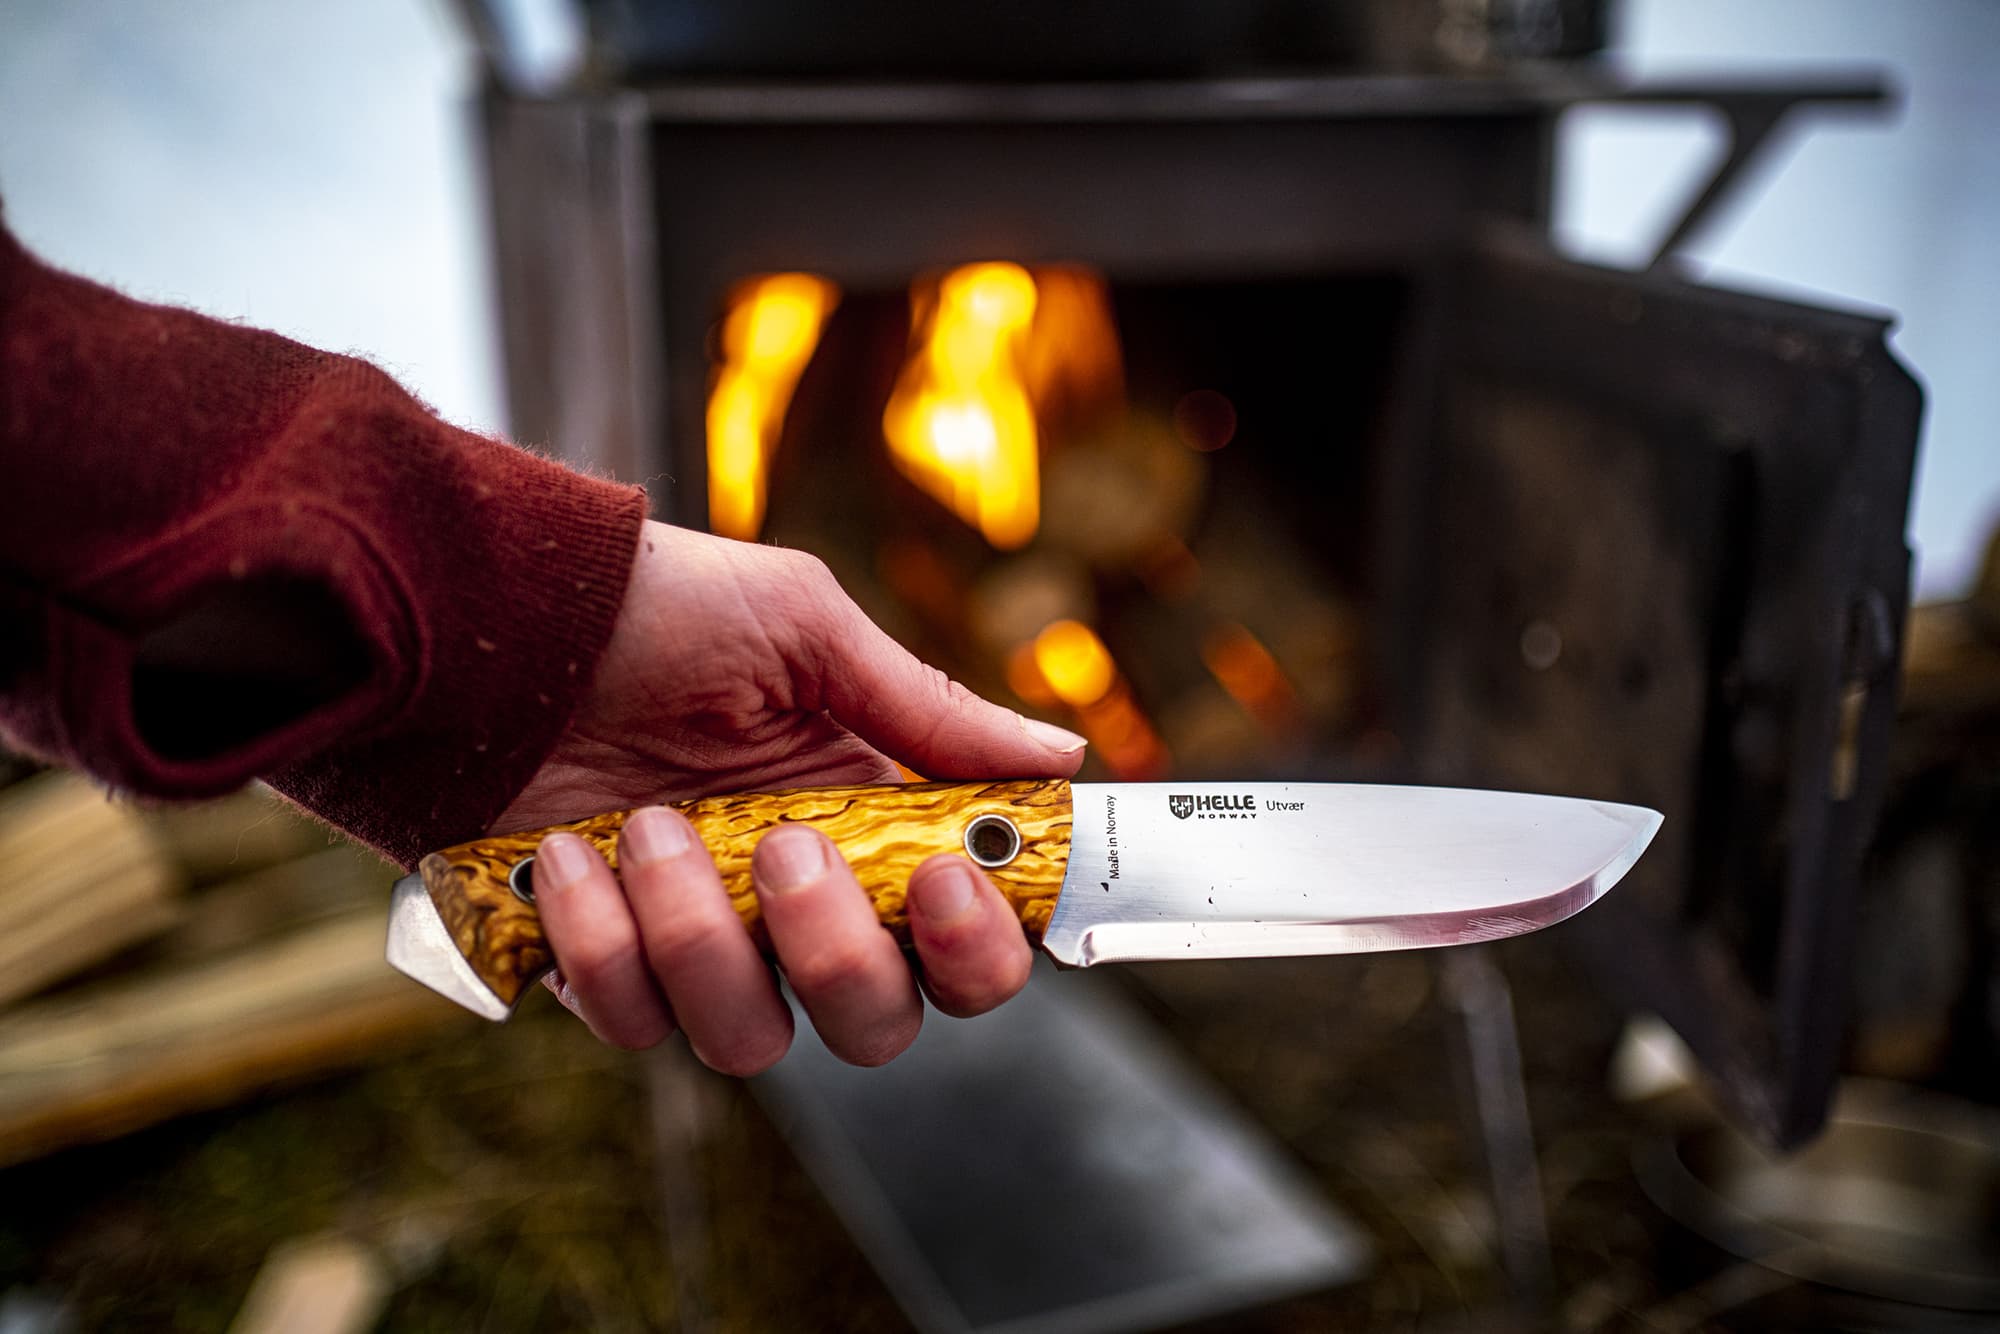
- Knife ie/ Helle
- Headlamp with extra batteries
- Warm Clothing. An extra pair of dry socks and a toque. Think Ivanhoe socks in merino wool that you can layer for extra warmth
- Emergency Bivvy
Don't forget items for cooking:
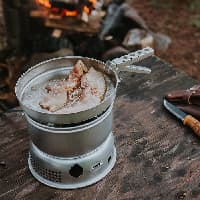
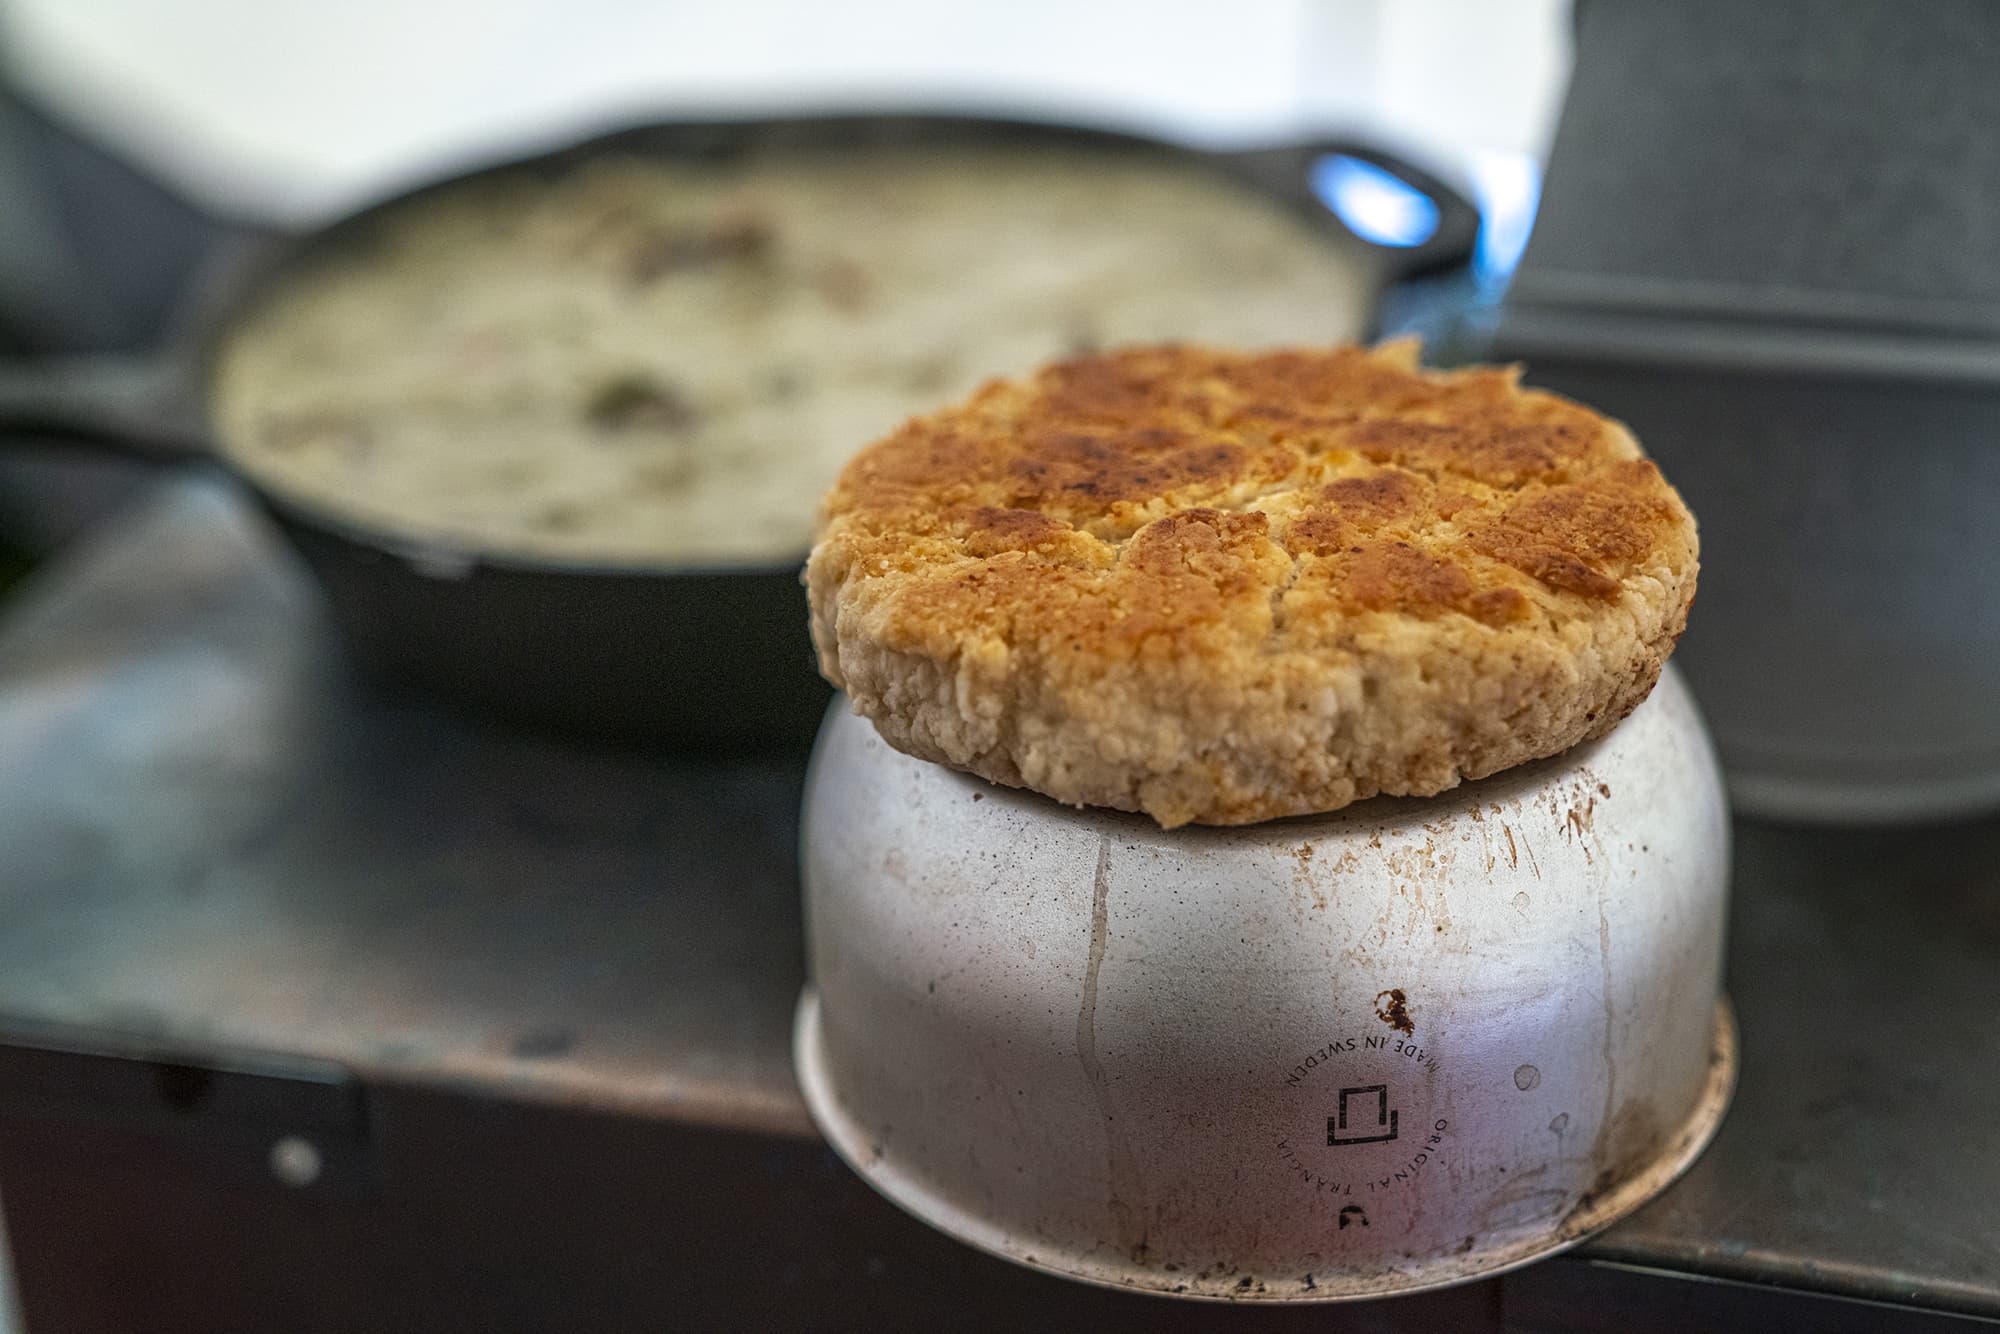
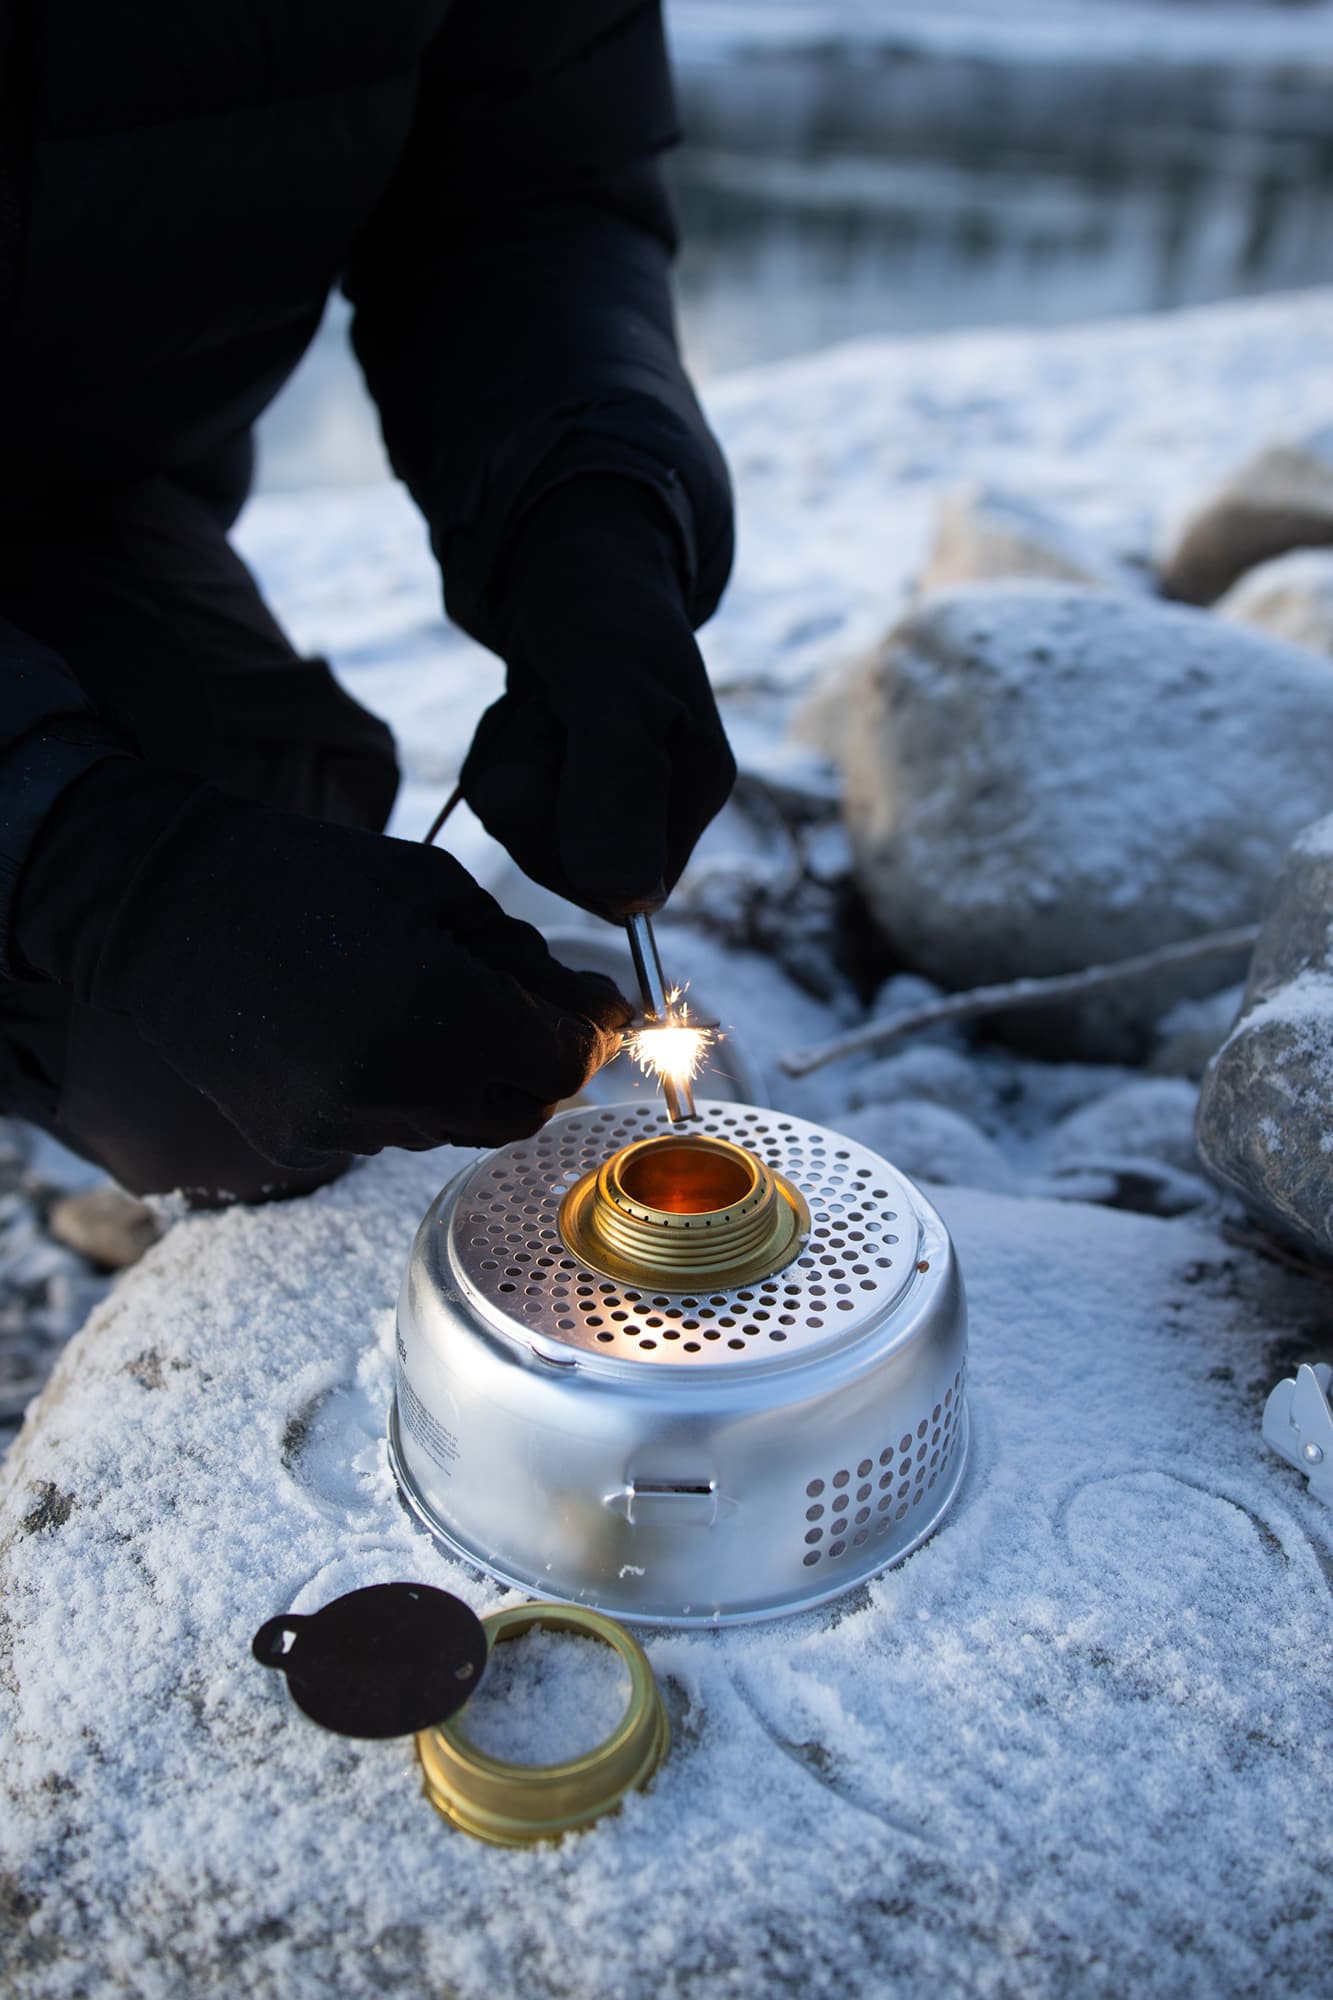
A cookset such as a Trangia with extra fuel. You can use the stove top for cooking, but it can be nice to have an alternate for extra fixings.
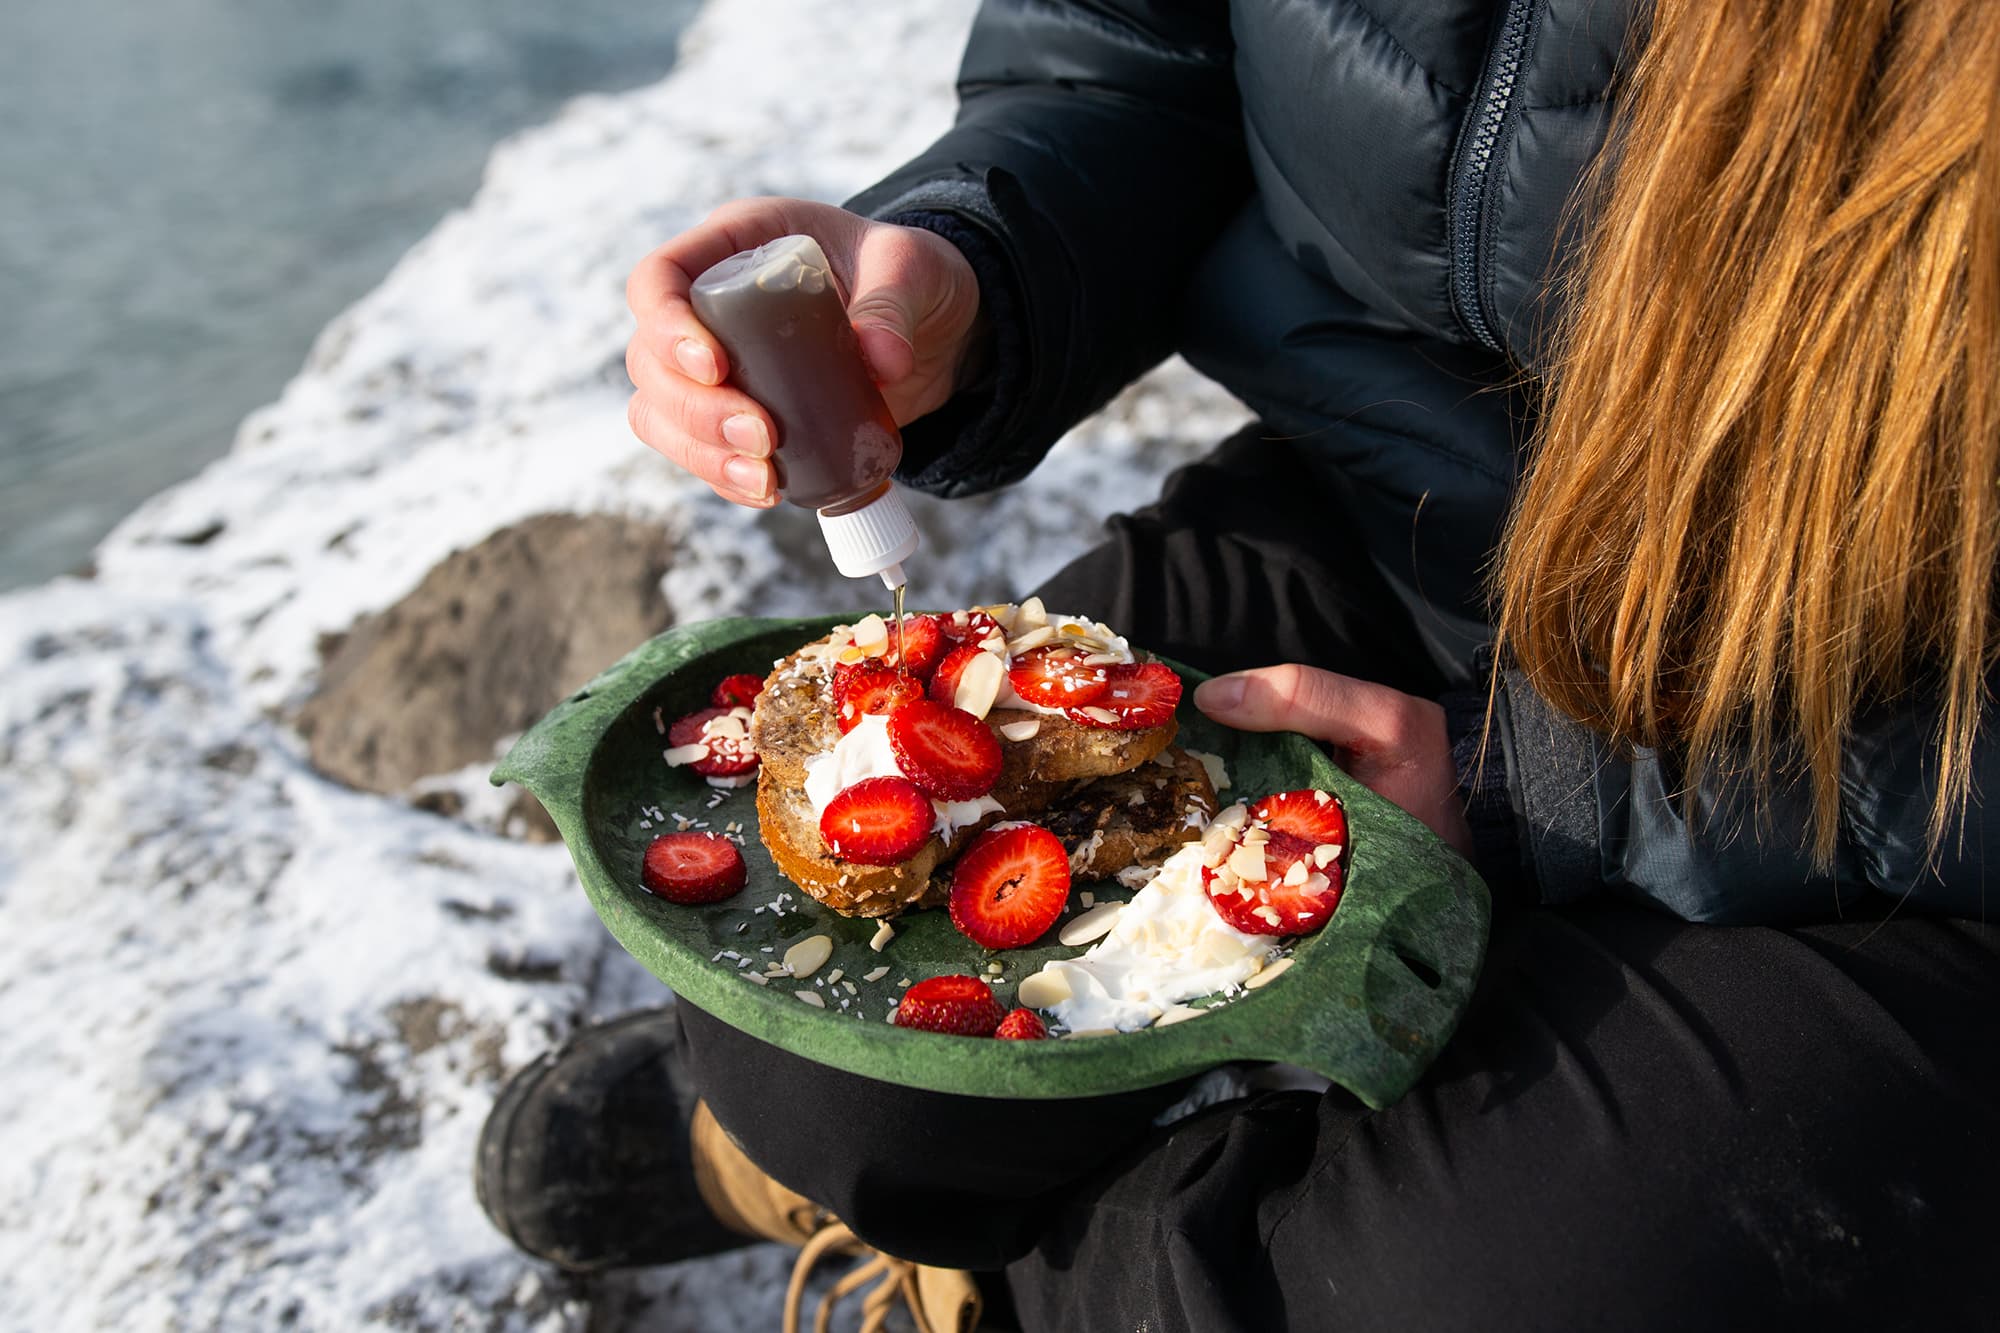
Cutlery, cups, plates and bowls – think Kupilka for a nice eco-friendly option.
Garbage Bag and Bio Bags to Follow Leave No Trace principles. Pack everything out and leave nothing behind.
The best way to have confidence in giving advice to your clients is to speak from first-hand experience. In the meantime, we hope these tips and suggestions help provide the needed details that your clients need to have a great winter hot tenting experience.
Photography credits: David Jackson, Lindsey Hill, Claudio Frimmel